'/%3e%3cpath%20d='M31%2038c0-8%206-14%2014-14h38c8%200%2014%206%2014%2014v52c0%208-6%2014-14%2014H45c-8%200-14-6-14-14V38z'%20fill='url(%23tmPanel)'%20filter='url(%23tmShadow)'/%3e%3cpath%20d='M44%2044h40'%20fill='none'%20stroke='%23f97316'%20stroke-width='8'%20stroke-linecap='round'/%3e%3cpath%20d='M44%2061h24'%20fill='none'%20stroke='%23fdba74'%20stroke-width='8'%20stroke-linecap='round'/%3e%3cpath%20d='M43%2087l13-14%2011%2010%2017-21%202%2025H43z'%20fill='%23fb923c'/%3e%3ccircle%20cx='84'%20cy='58'%20r='6'%20fill='%23f97316'/%3e%3cpath%20d='M77%2091l16-18%2014%2014'%20fill='none'%20stroke='%2316a34a'%20stroke-width='7'%20stroke-linecap='round'%20stroke-linejoin='round'/%3e%3cpath%20d='M99%2074h-6v-6'%20fill='none'%20stroke='%2316a34a'%20stroke-width='7'%20stroke-linecap='round'%20stroke-linejoin='round'/%3e%3cpath%20d='M30%2034c8-10%2020-15%2034-15s26%205%2034%2015'%20fill='none'%20stroke='%23fff7ed'%20stroke-width='5'%20stroke-linecap='round'%20opacity='.92'/%3e%3cpath%20d='M27%2096c9%208%2021%2012%2037%2012s28-4%2037-12'%20fill='none'%20stroke='%23fff7ed'%20stroke-width='5'%20stroke-linecap='round'%20opacity='.72'/%3e%3c/svg%3e)
SellPix AI User Manual
No design skills needed: real screenshots walk you from sign-in through the AgentOS Suite Agent, AI Designer Agent, Marketing Ad Agent, standalone tools, and Amazon A+, then through credit checks and downloads.
- 1Choose an agent
Use the Suite Agent for Listing packs, the Designer Agent for visual iteration, or the Marketing Ad Agent for campaign assets.
- 2Confirm the AI plan
AI lists the images to generate and the estimated credits. Nothing is charged until you confirm.
- 3Wait and download
Preview the results, download one image or a ZIP, and find everything again in History.
Before You Start
Check the account, language, and entry points first. Visitors can read the manual; generation, downloads, and billing records require a test or production account.
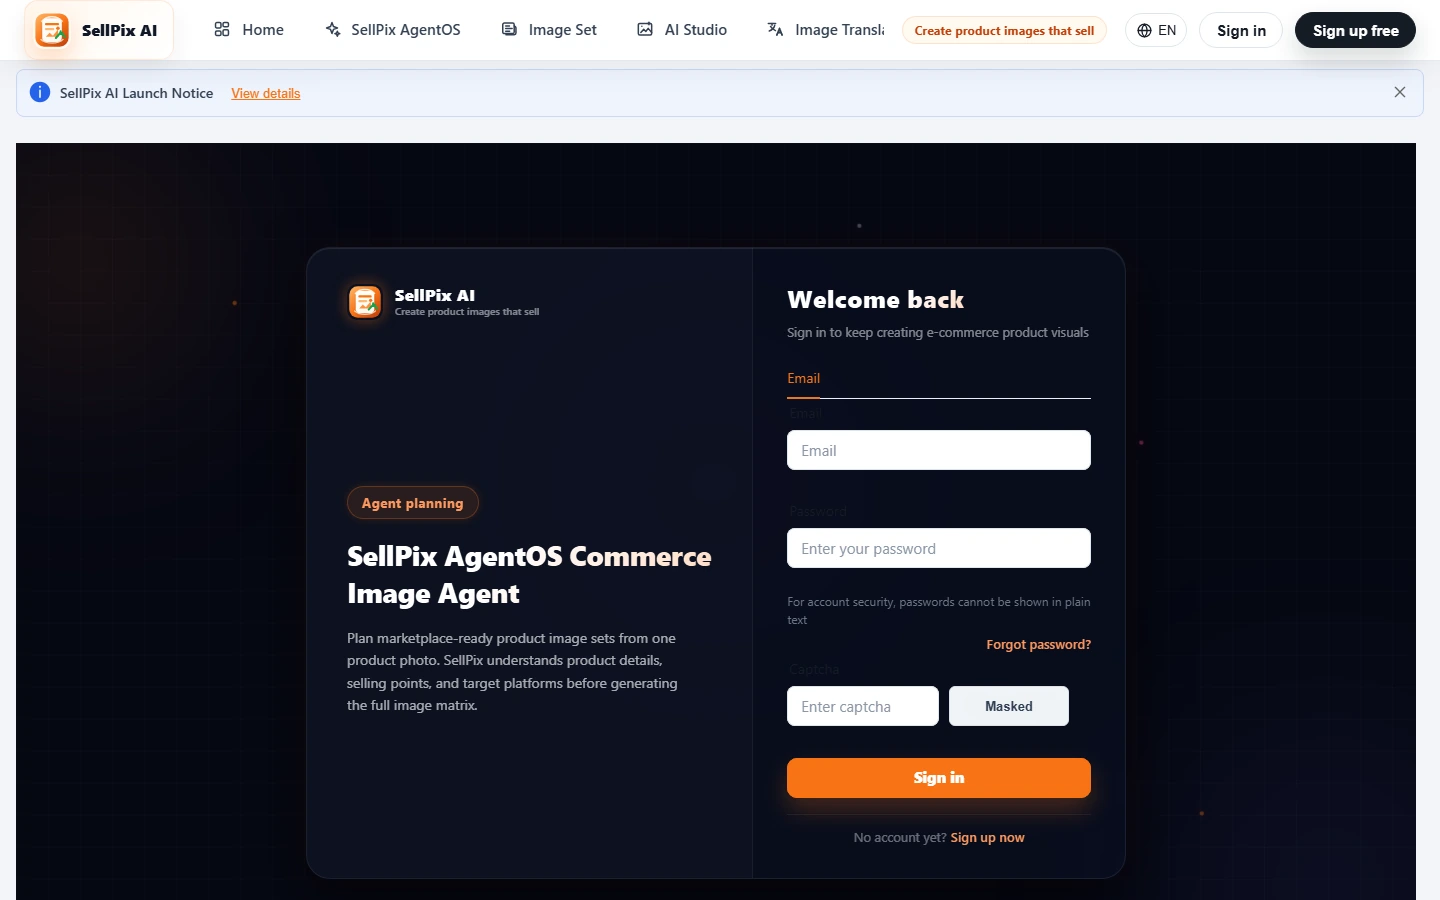
Create or sign in to an account
Open the sign-in page and use your email / account plus verification to sign in. After sign-in, the header shows credit balance, membership, and the user menu.
TipScreenshots mask test account details, email addresses, verification codes, and balances.
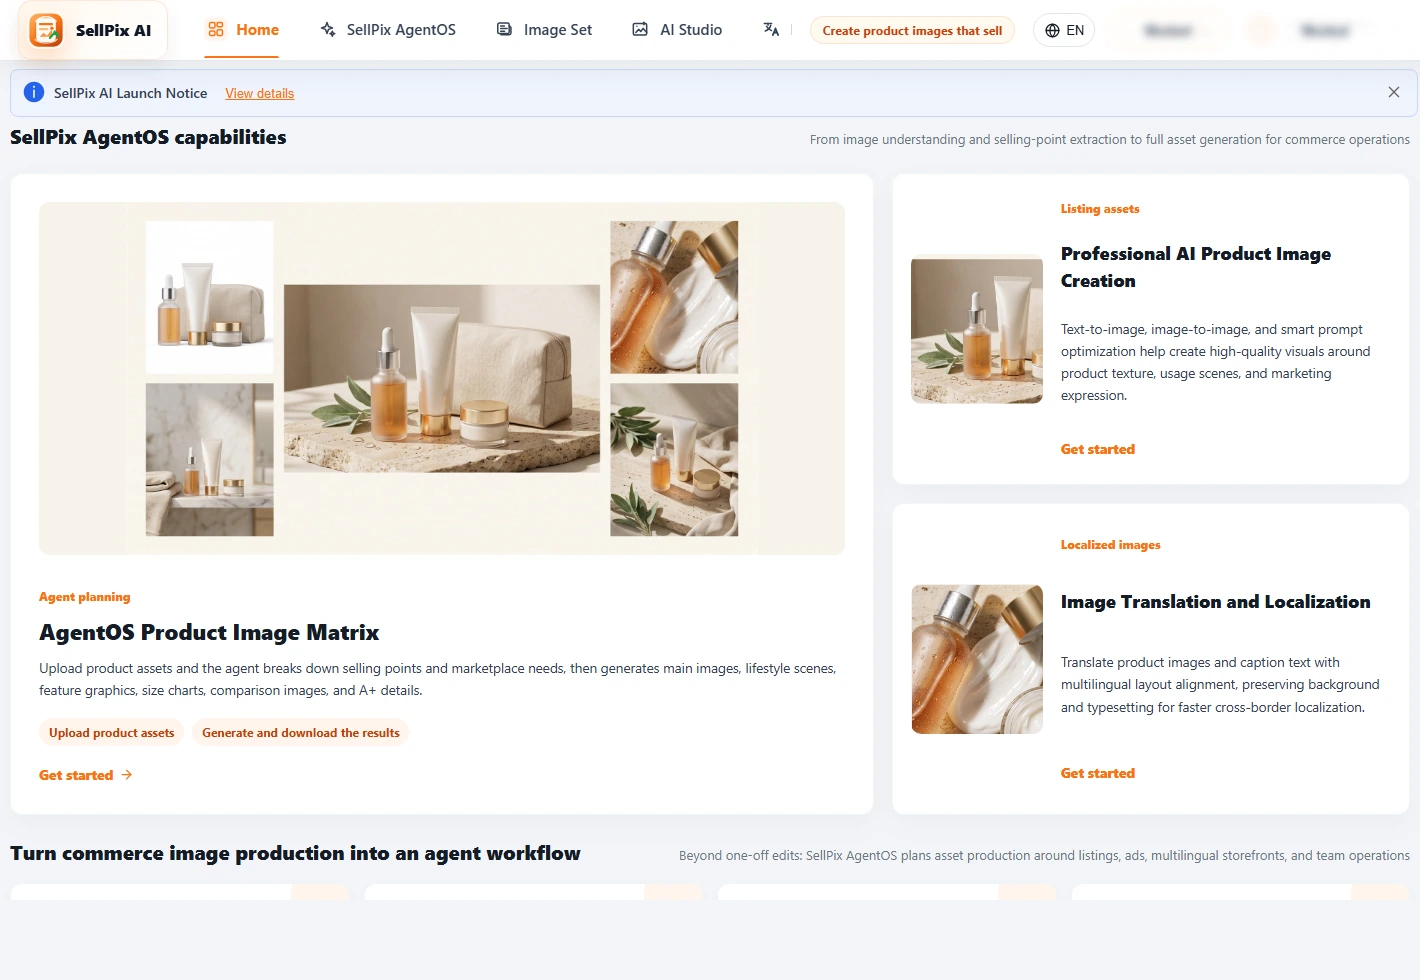
Open features from the home page
The home navigation includes AgentOS, Product Image Sets, AI Studio, and Image Translation. Navigation opens the matching page for your selected interface language.
Complete AgentOS Suite Agent Workflow
The Suite Agent first understands your product, then lists an image plan: which images to generate, for which platform, and in which language. You can edit the platform, country, image types, counts, ratios, and copy - credits are charged only after you confirm.
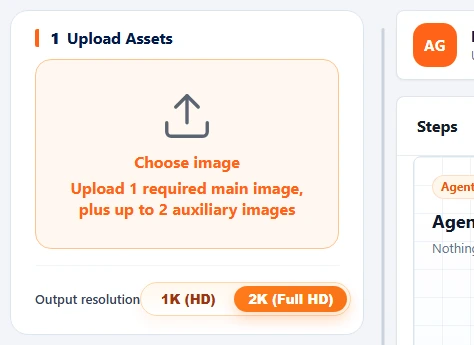
Upload the main product image and auxiliary images
Upload one required main image and up to four auxiliary images. The main image defines the subject; auxiliary images add angles, details, packaging, or accessories.
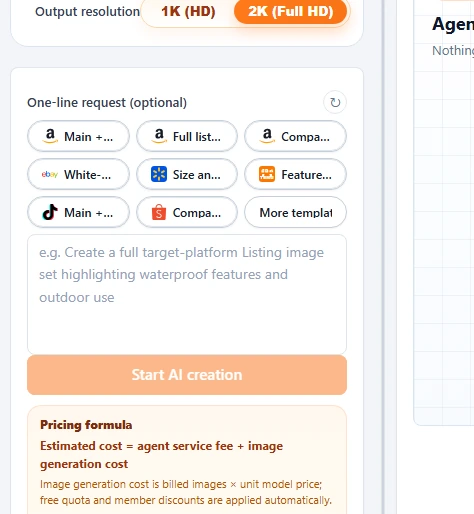
Choose a quick template or enter one request
Use templates such as Amazon Main + Scene, Standard Full Set, or Feature Infographic, or type your own launch goal.
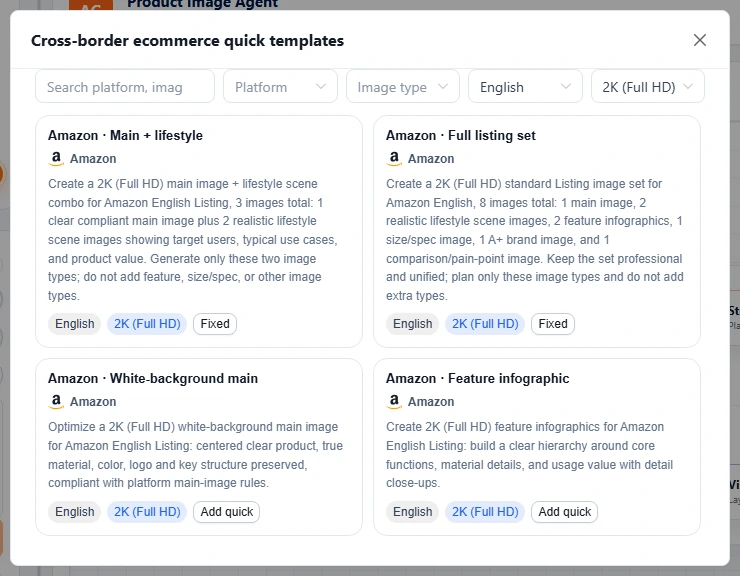
Review agent recommendations
The agent recommends platform, country / region, image language, and image types from the product and target market. Accept the suggestions or customize them.
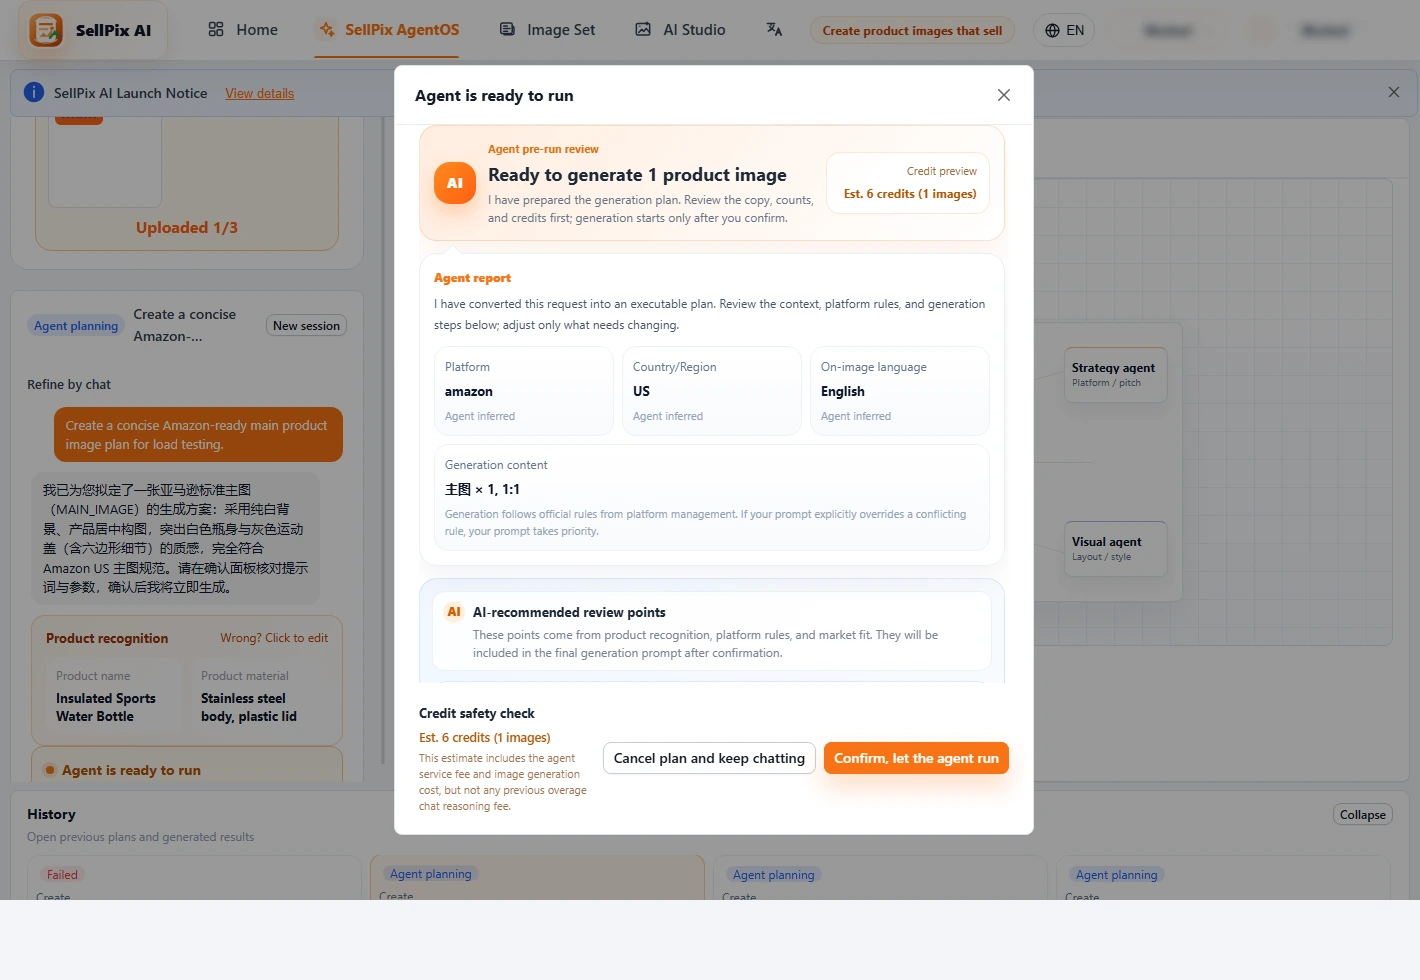
Confirm the plan, copy, and credit estimate
In the confirmation panel, check the images to generate, counts, ratios, copy, and the estimated credits. The system flags exaggerated claims and third-party brand names in the copy for you.
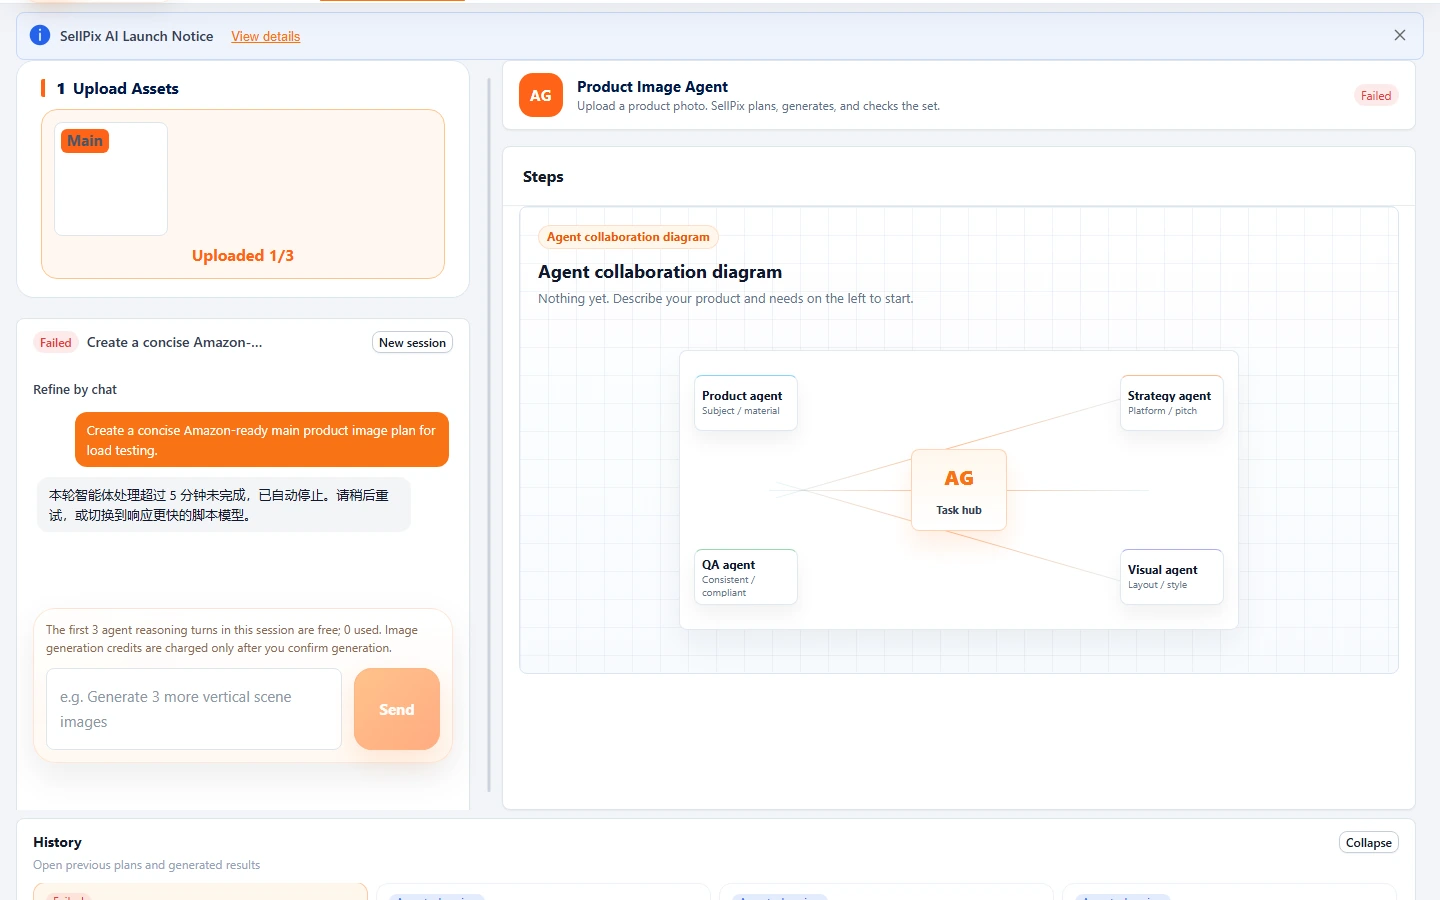
Wait for generation and QA
After you confirm, AI starts generating, and every image gets an automatic quality check. The page refreshes progress on its own, so you do not have to watch it.
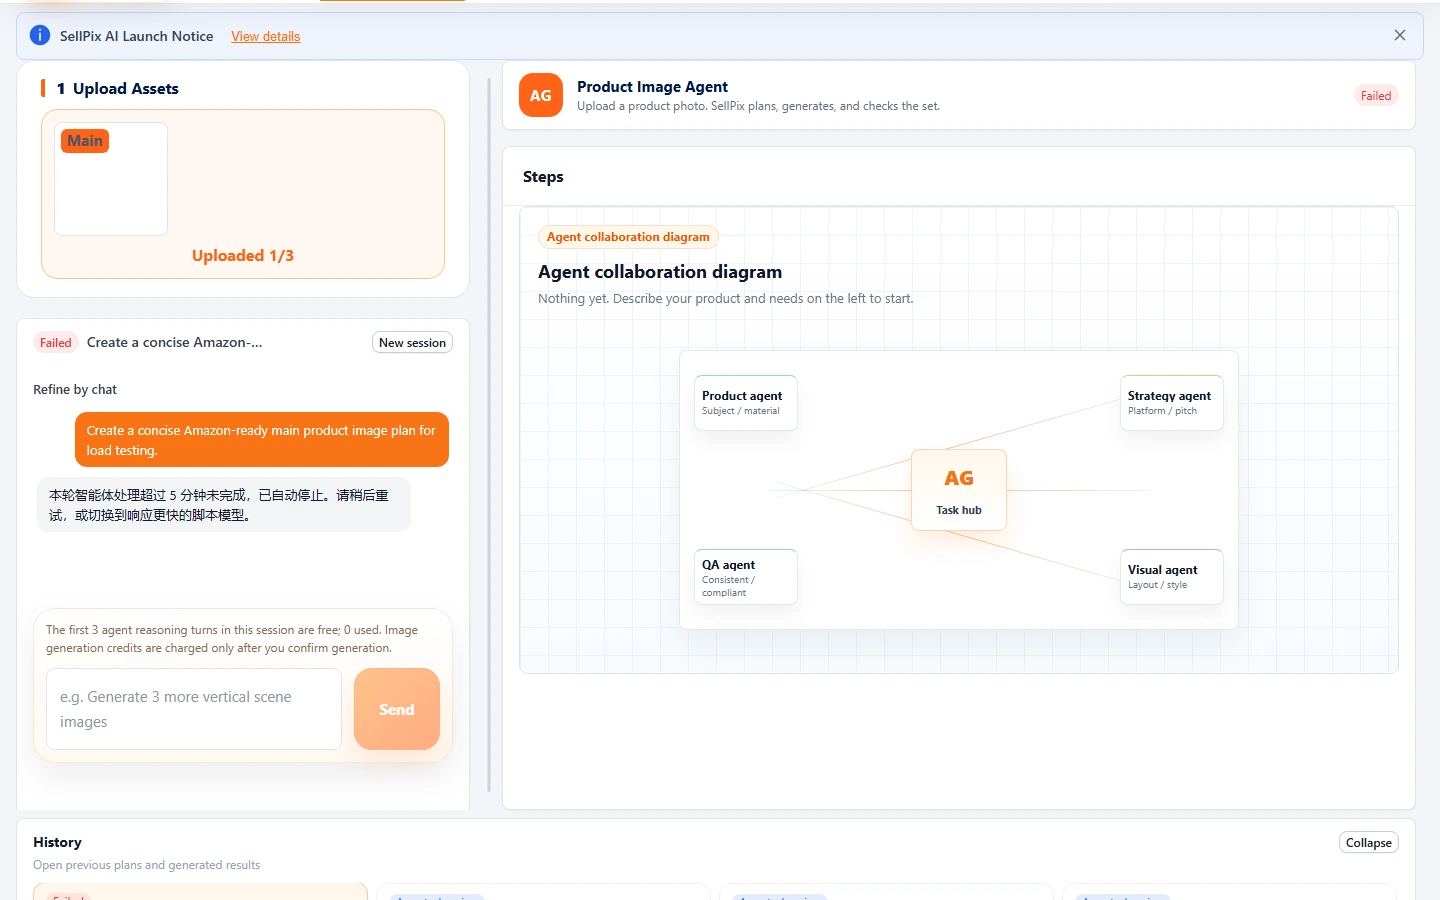
Review results and keep optimizing
When generation completes, preview, download one image, download a ZIP, translate, refine an area, regenerate an image, or ask the agent to check marketplace compliance.
AI Designer Agent: from a short brief to deliverable product visuals
The Designer Agent is for open-ended image creation and style exploration. Start from text only or upload reference images, then keep adjusting ratio, resolution, language, style, local areas, and export specs inside the same session.
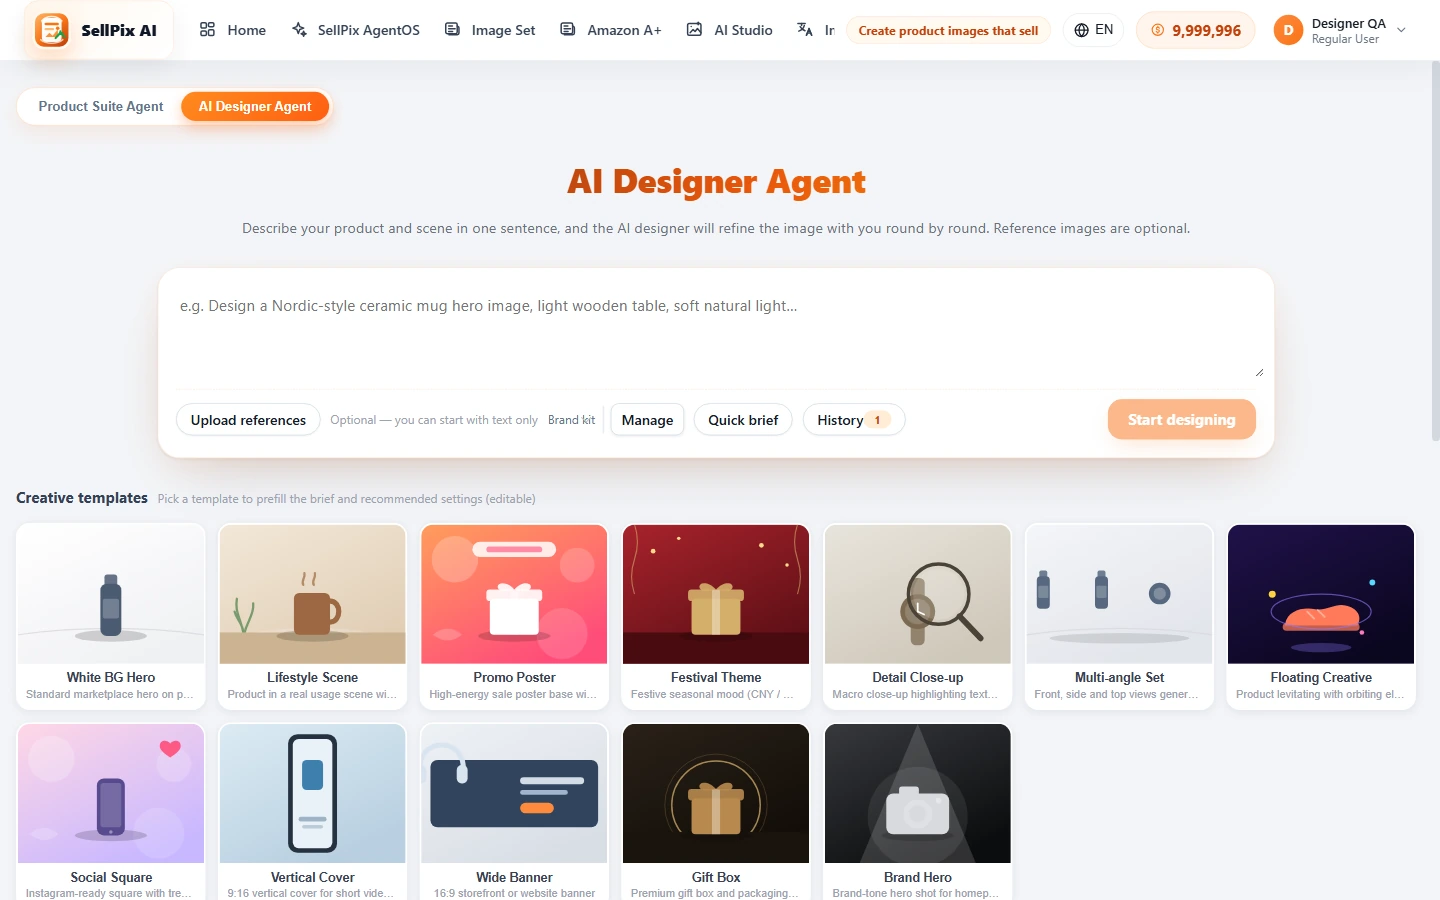
Switch from AgentOS to the AI Designer Agent
Open the agent switcher at the top of AgentOS and choose “AI Designer Agent”. If the rollout switch is off, the tab is hidden and direct links return to the Suite Agent.
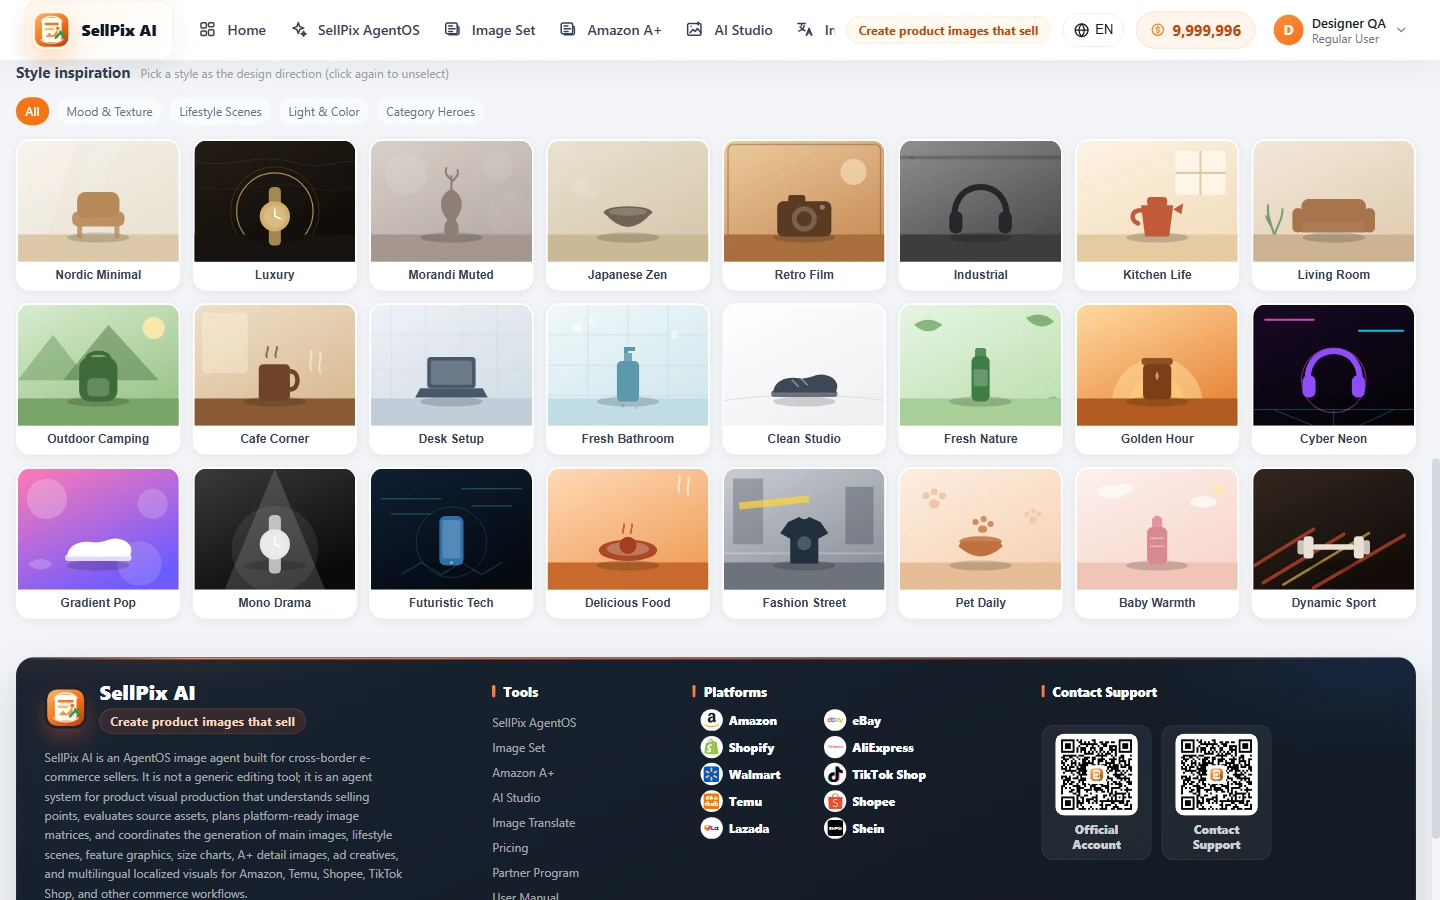
Write the brief, then choose style and brand assets
Describe the product, scene, usage, and visual direction. You can also pick inspiration styles, creative templates, and a brand kit so theme color, logo, font preference, and reference images are injected into the session.
TipReference images are optional. Text-only works for ideation; references help preserve the subject, material, or composition direction.
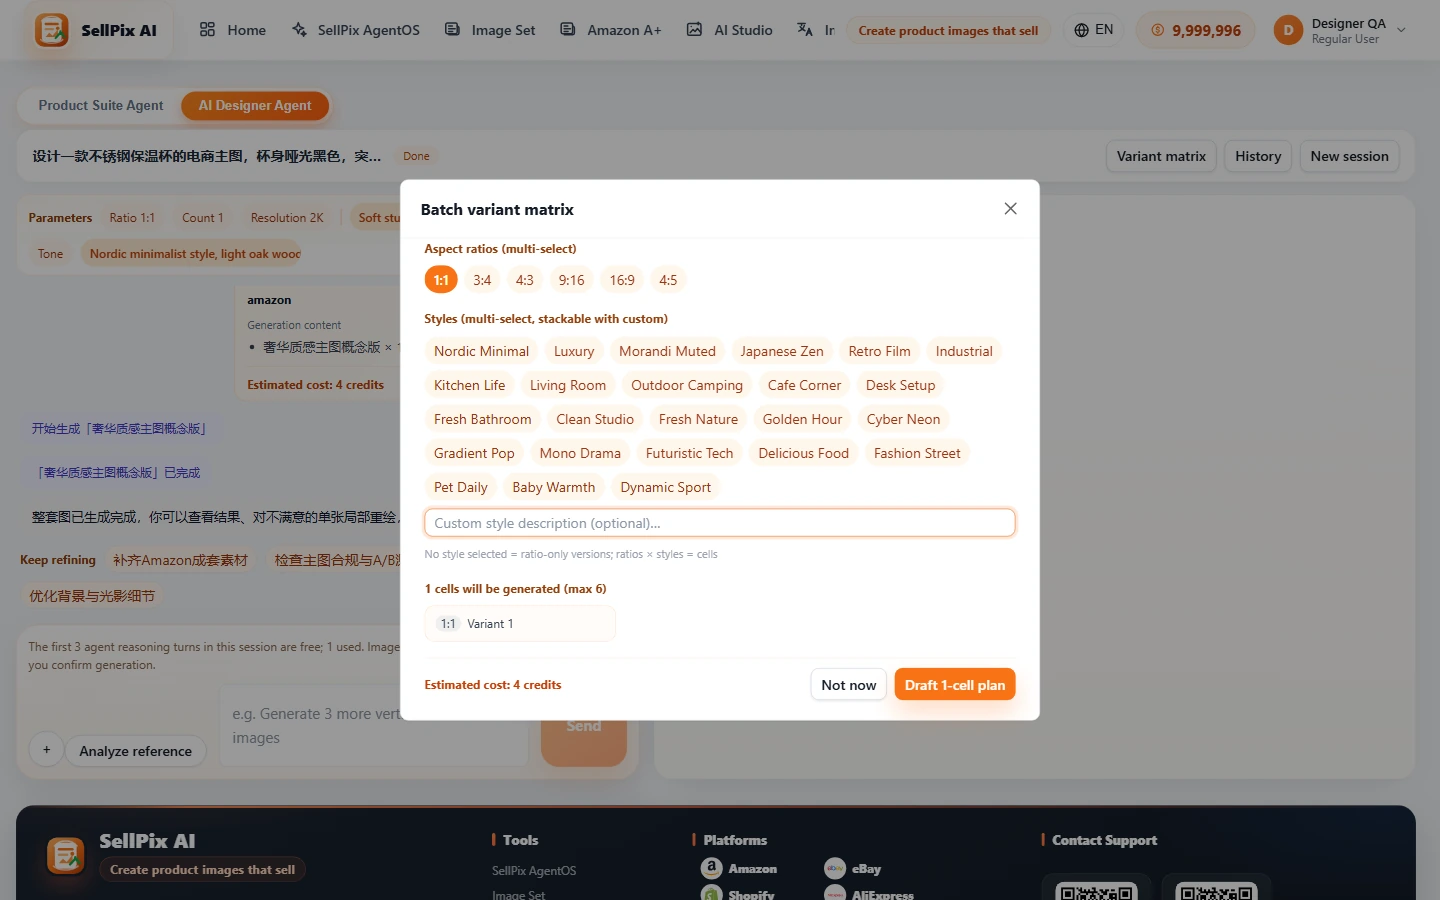
Confirm prompt, parameters, and variant matrix
Before generation, check ratio, count, resolution, reference mode, and the editable prompt. Use the variant matrix to test multiple ratios and styles in one run, up to 6 cells.
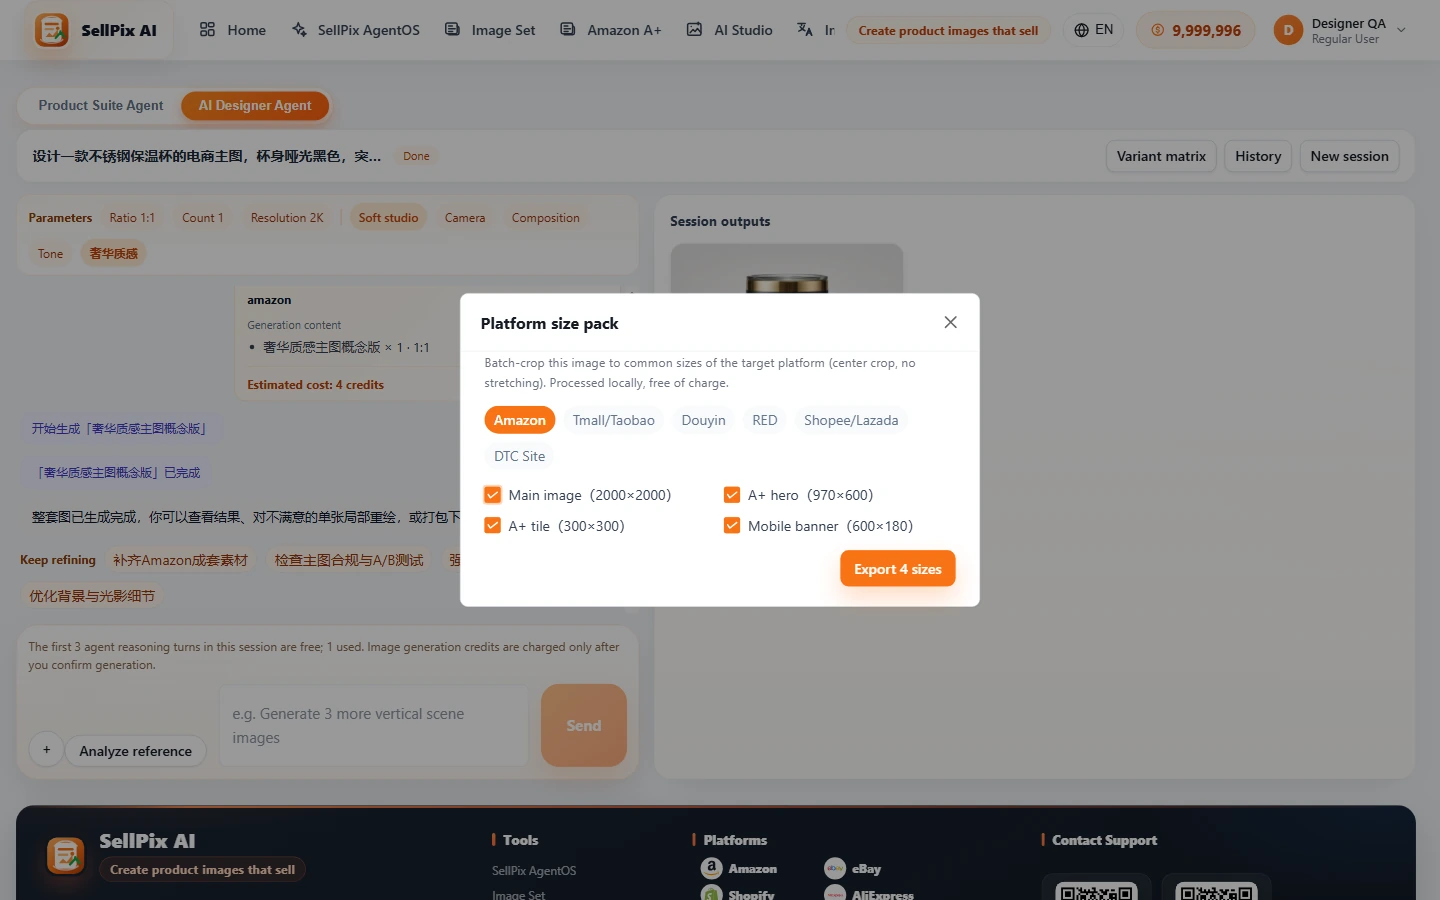
Keep optimizing, save styles, and export
After results arrive, download, repaint, create a white background, swap backgrounds, save a result as “My Style”, export platform spec packs, or apply a brand logo corner mark.
Marketing Ad Agent: generate a full-channel ad creative pack
The Marketing Ad Agent is built for campaign production. Write the product and campaign brief, choose Meta, Google, TikTok, or DTC placements, and the system deduplicates by ratio, avoids safe zones, and writes placement-level copy within character limits.
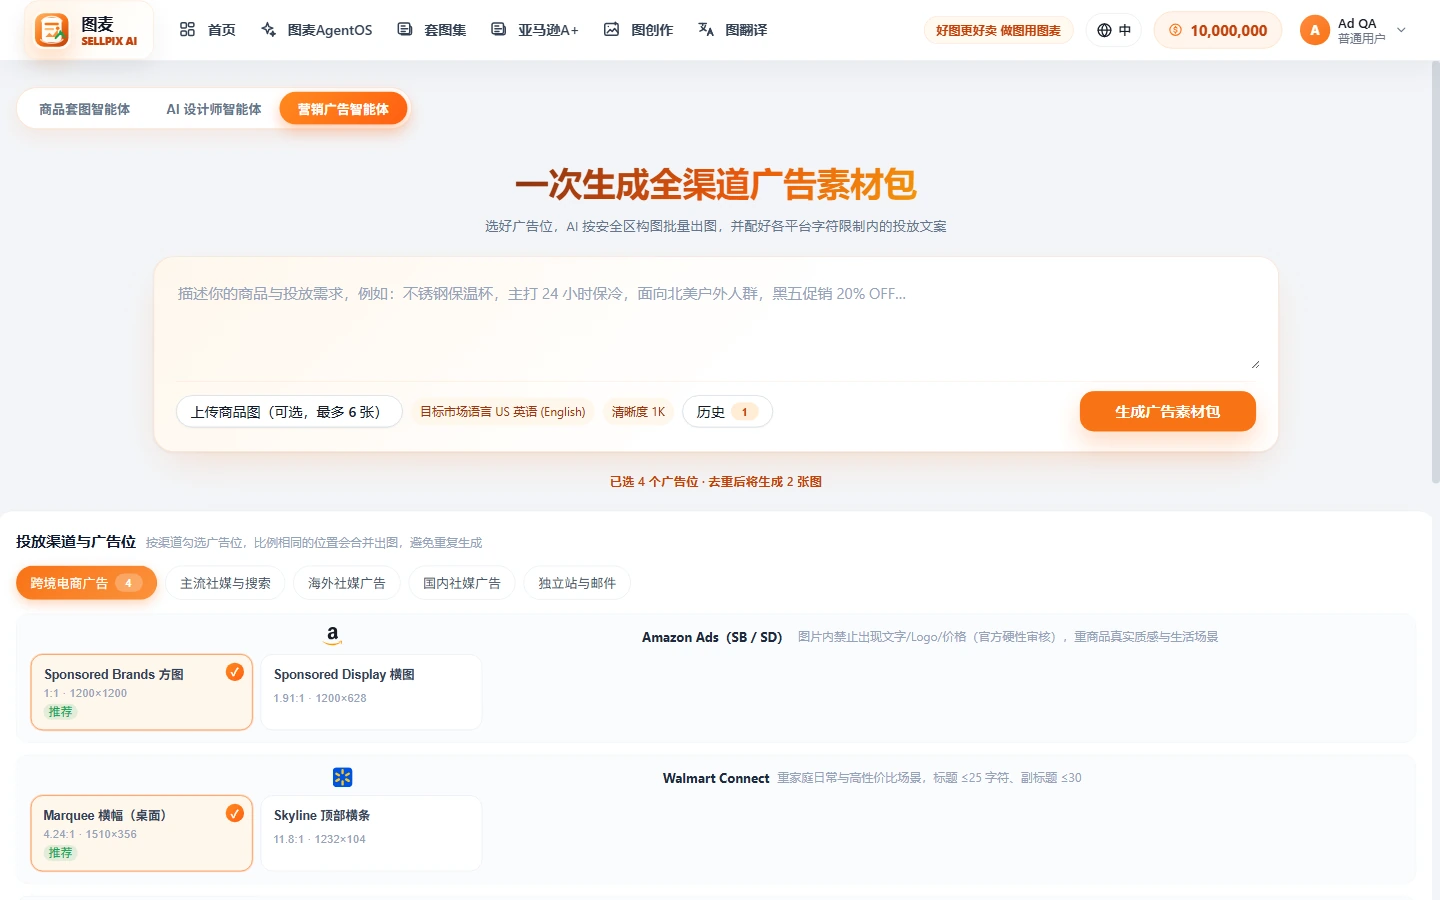
Fill in the product and campaign brief
Describe the product, promotion, audience, selling points, and target market language. Product images are optional, but they help keep the subject consistent.
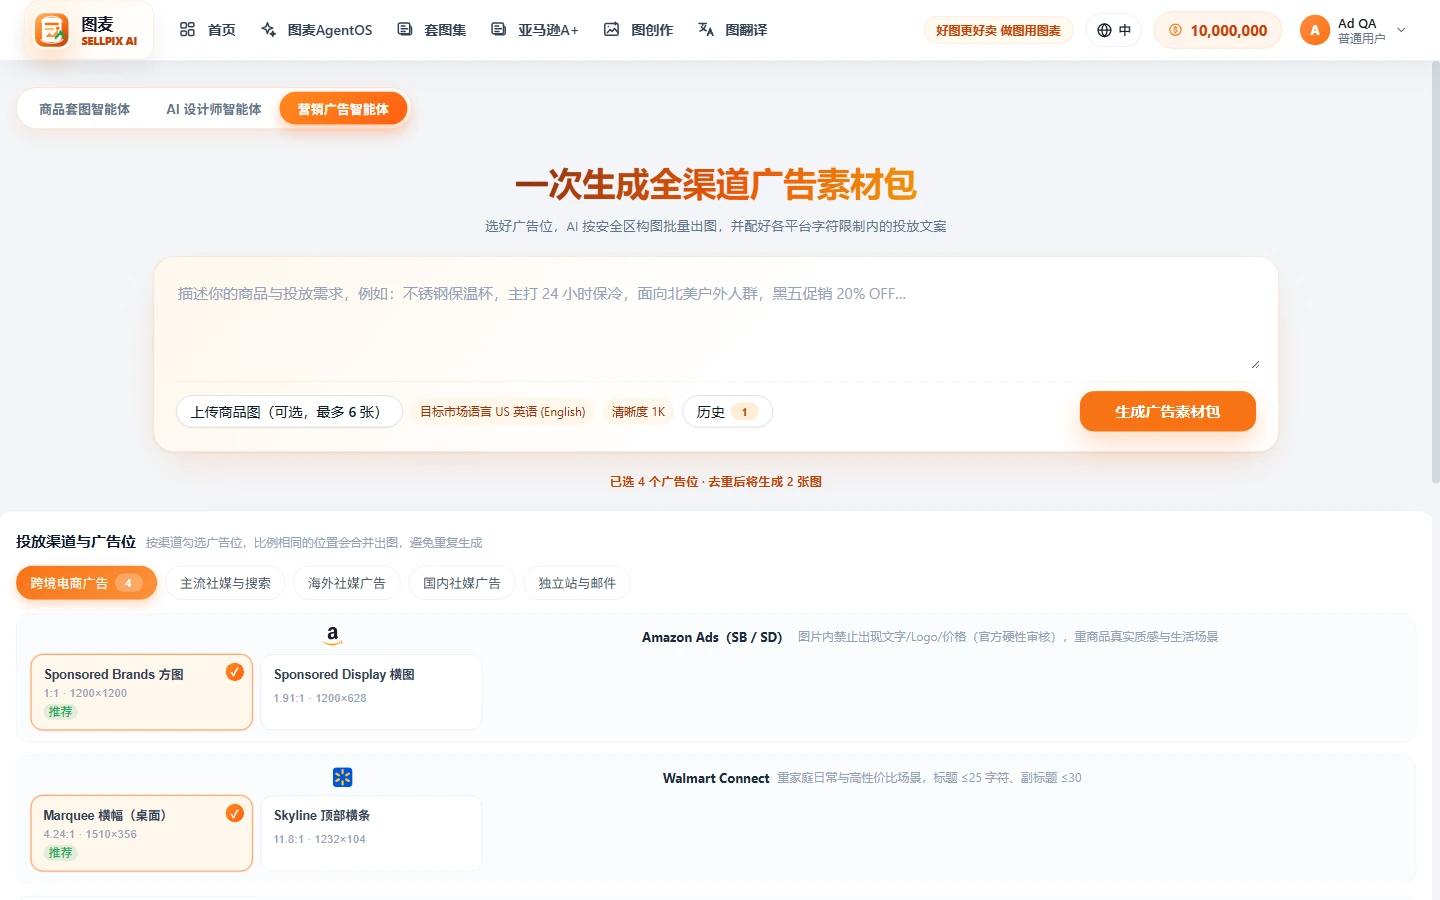
Choose channels and placements
Check placements by channel. The agent merges placements with the same ratio to reduce duplicate generation. Each placement includes safe-zone guidance to keep subject and text away from platform UI overlays.
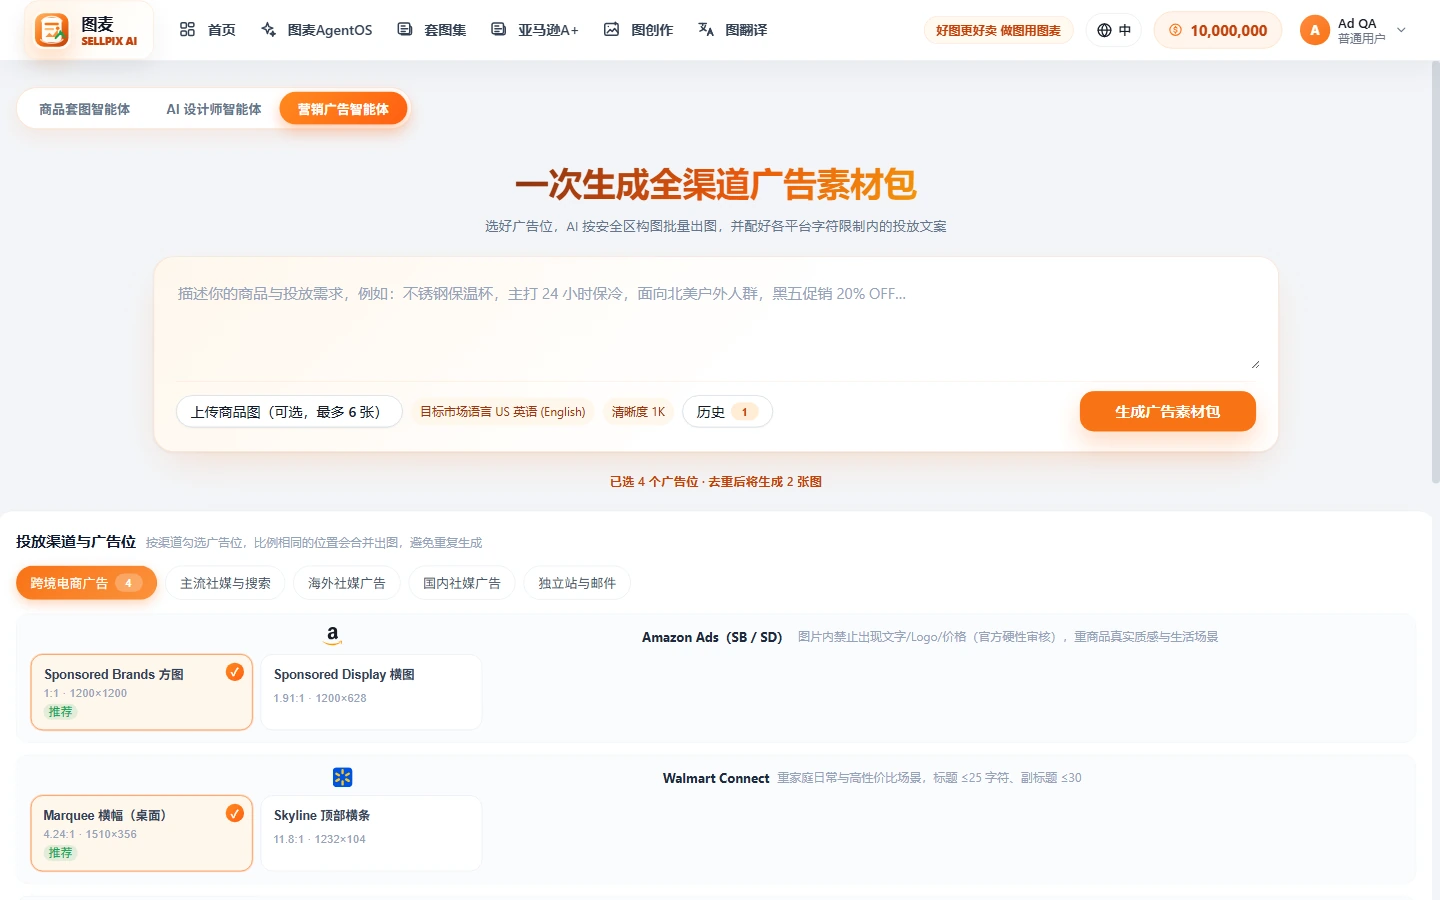
Review ad copy and policy pre-check
The agent writes headlines, primary text, descriptions, and CTAs for selected placements, flags over-limit copy, and surfaces policy risks such as exaggerated claims, sensitive promises, or platform red lines.
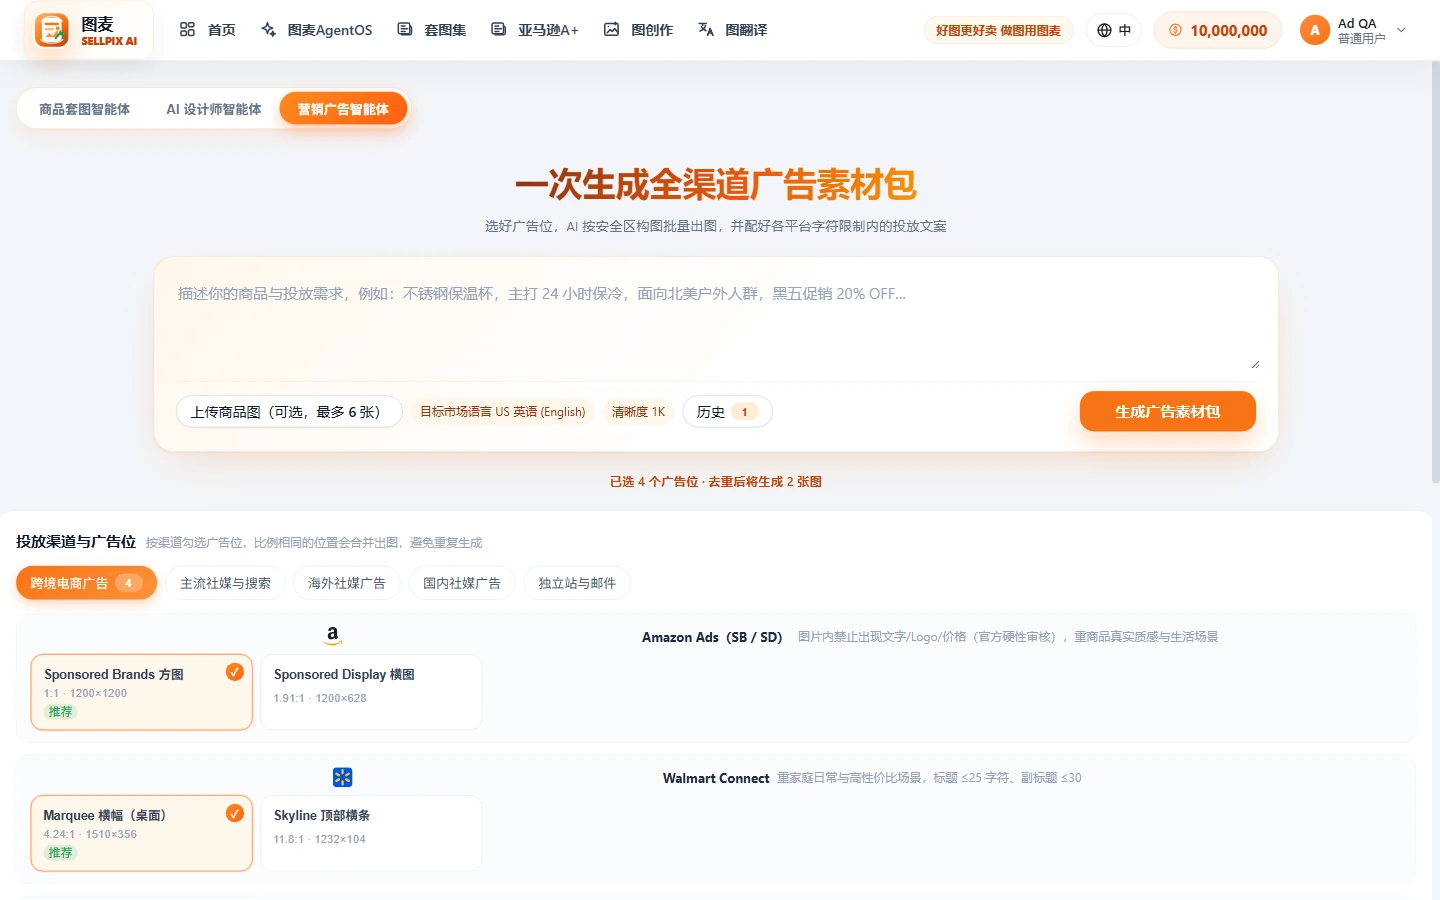
Download originals or export by placement
Download images directly, preview safe-zone overlays, repaint local areas, or export a ZIP cropped to selected placement specs. Export is local processing and does not add generation cost.
The Three Standalone Tools
When your target is already clear, use Image Set, AI Studio, or Image Translation directly. They share credits, model configuration, and task history with AgentOS.
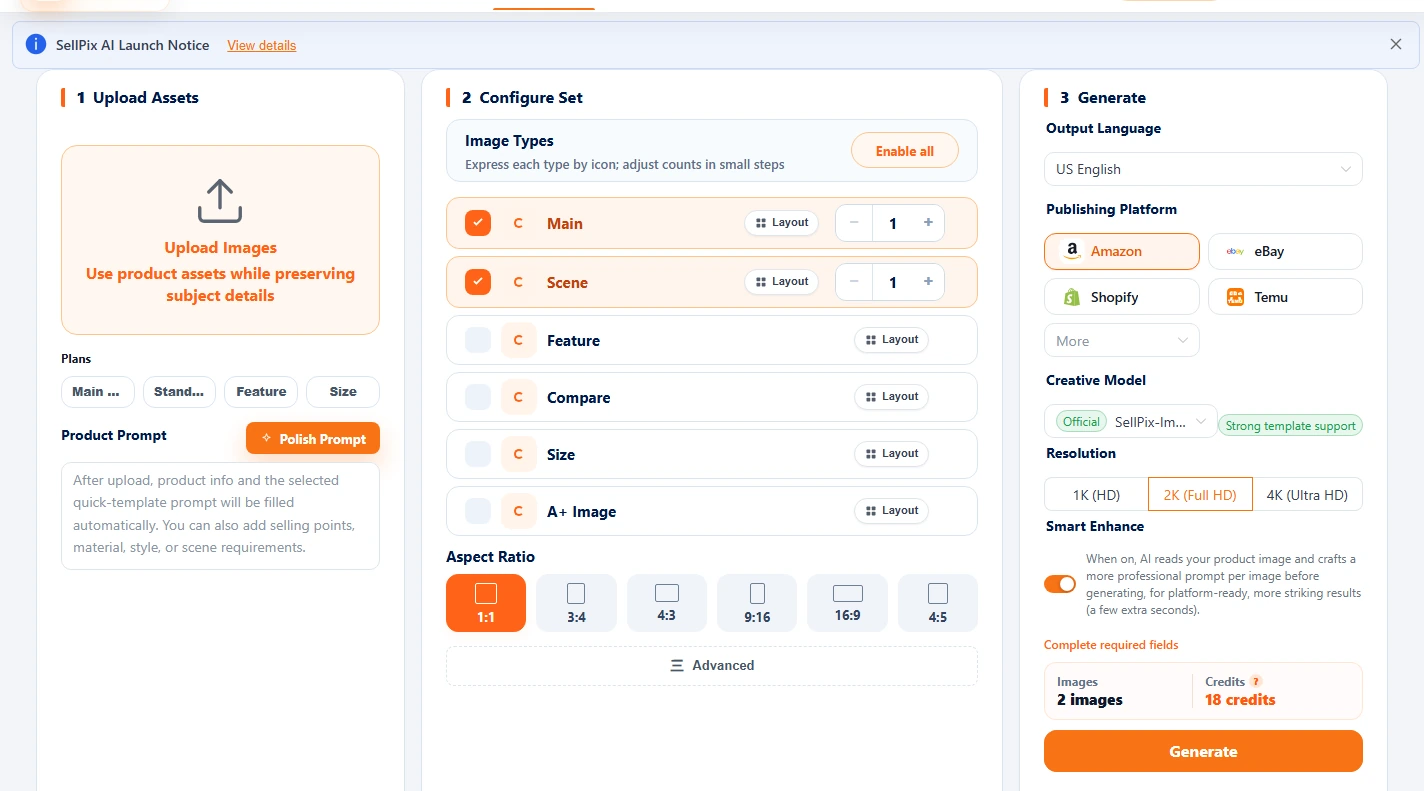
Image Set: generate a Listing image matrix
Upload product images, fill in selling points, platform, country, image language, image types, and ratios to generate main images, scenes, feature graphics, size charts, A+ images, and more.
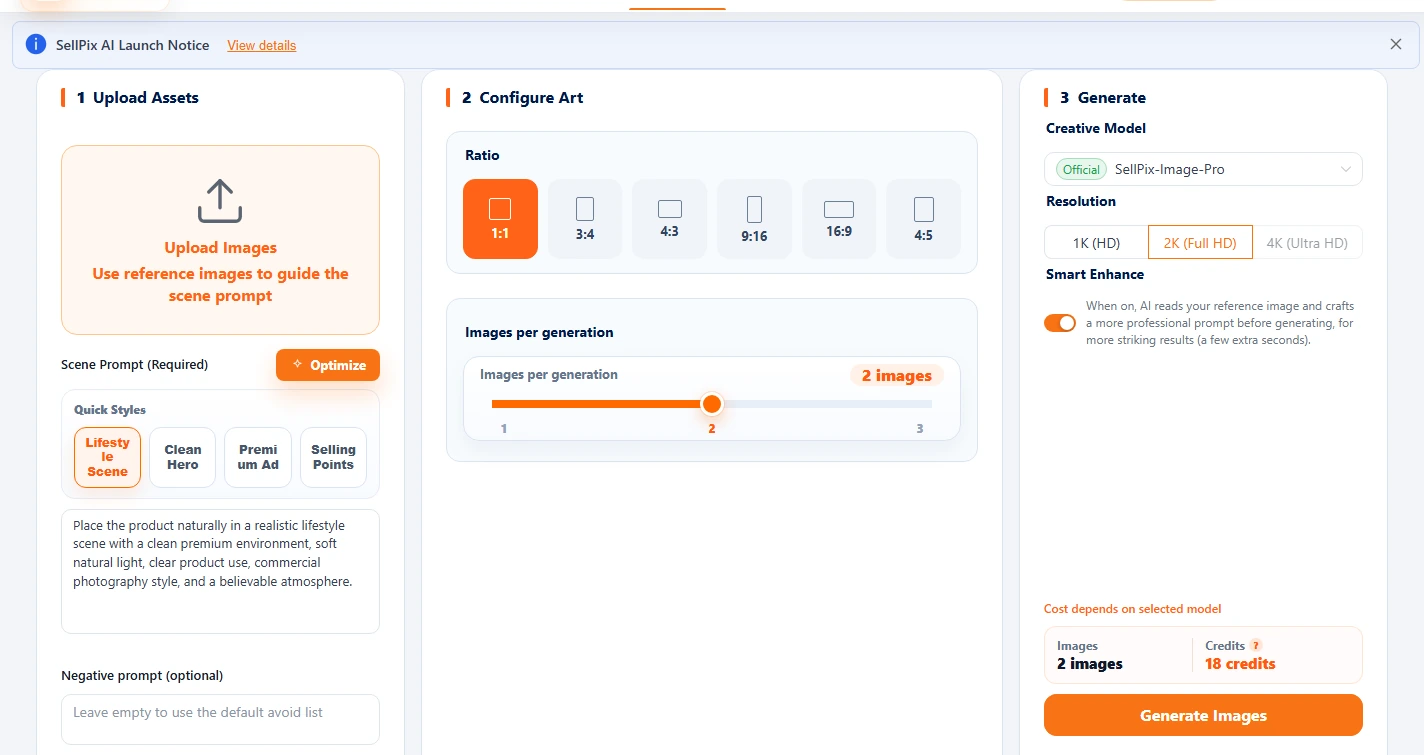
AI Studio: create product visuals from prompts
Enter a scene prompt, optionally upload reference images, then choose ratio, resolution, and count. Use it for ads, scenes, and style exploration.
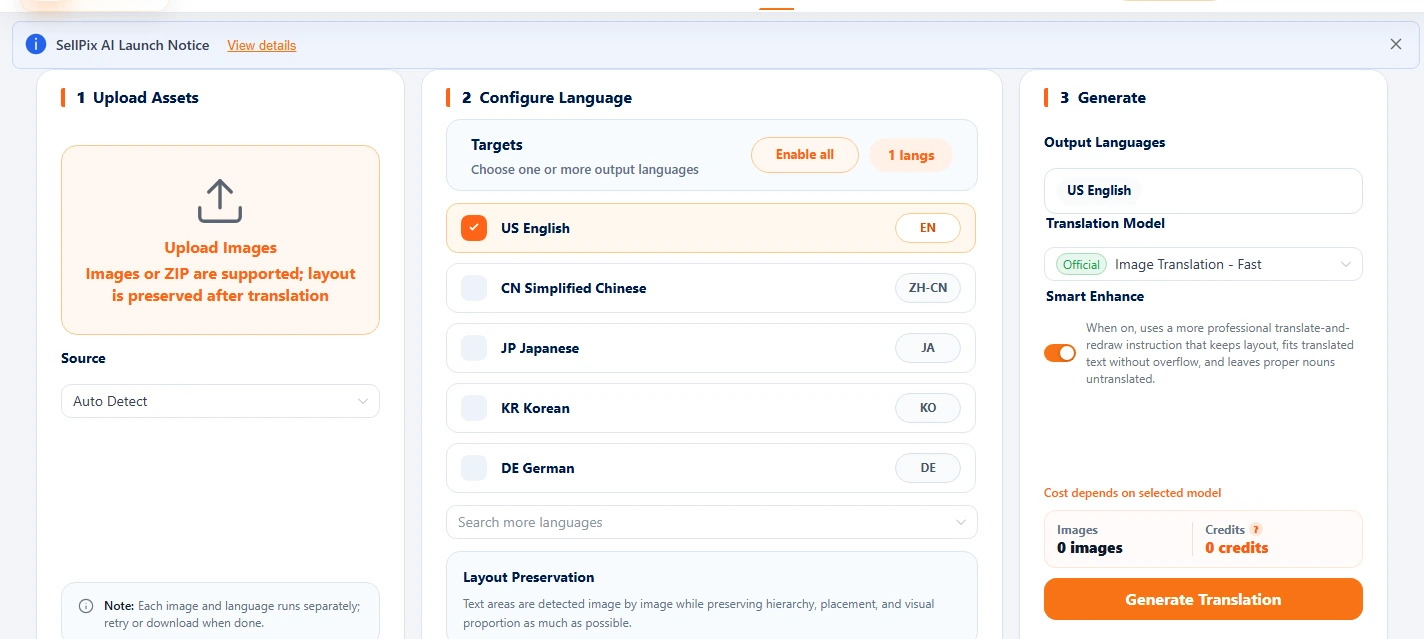
Image Translation: localize text inside product images
Upload one image or a ZIP, choose source and target languages, and the system translates detected text while preserving the original layout as much as possible.
Amazon A+ Content: a full detail page in one run
Use the A+ Agent to plan three options automatically and the A+ Workbench for templates and precise editing. Both entrances share the same project.
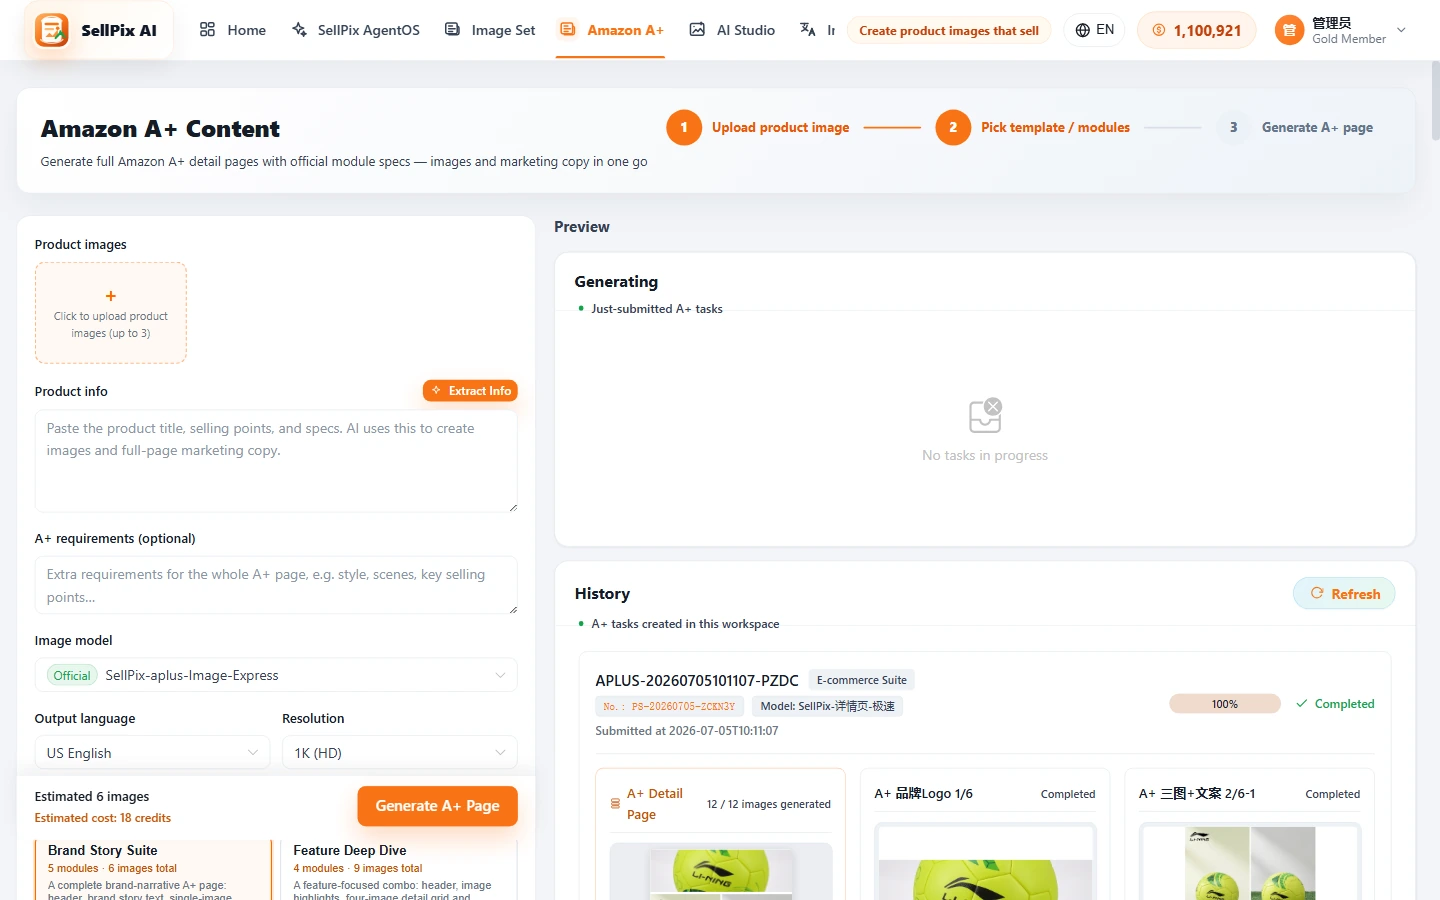
Upload product images and fill in product info
Upload up to 6 product images. Premium A+ also accepts up to 5 MP4/WEBM/MOV videos with covers. Videos are uploaded, never AI-generated.
TipNot sure what to write? Click "Extract Info" first, then edit the AI draft.
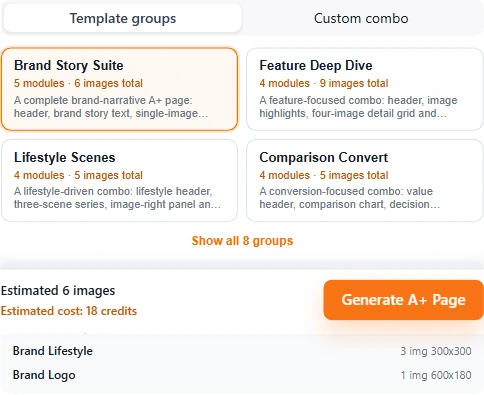
Pick a template group or combine modules
Use the five-step guide and deterministic recommendation. Basic has 7 templates and up to 5 modules; Premium has 8 templates and up to 7 modules. New Brand Story creation is paused; historical projects are Legacy.
TipThe estimated image count and credit cost show at the bottom; nothing is charged until you click "Generate A+ Page".
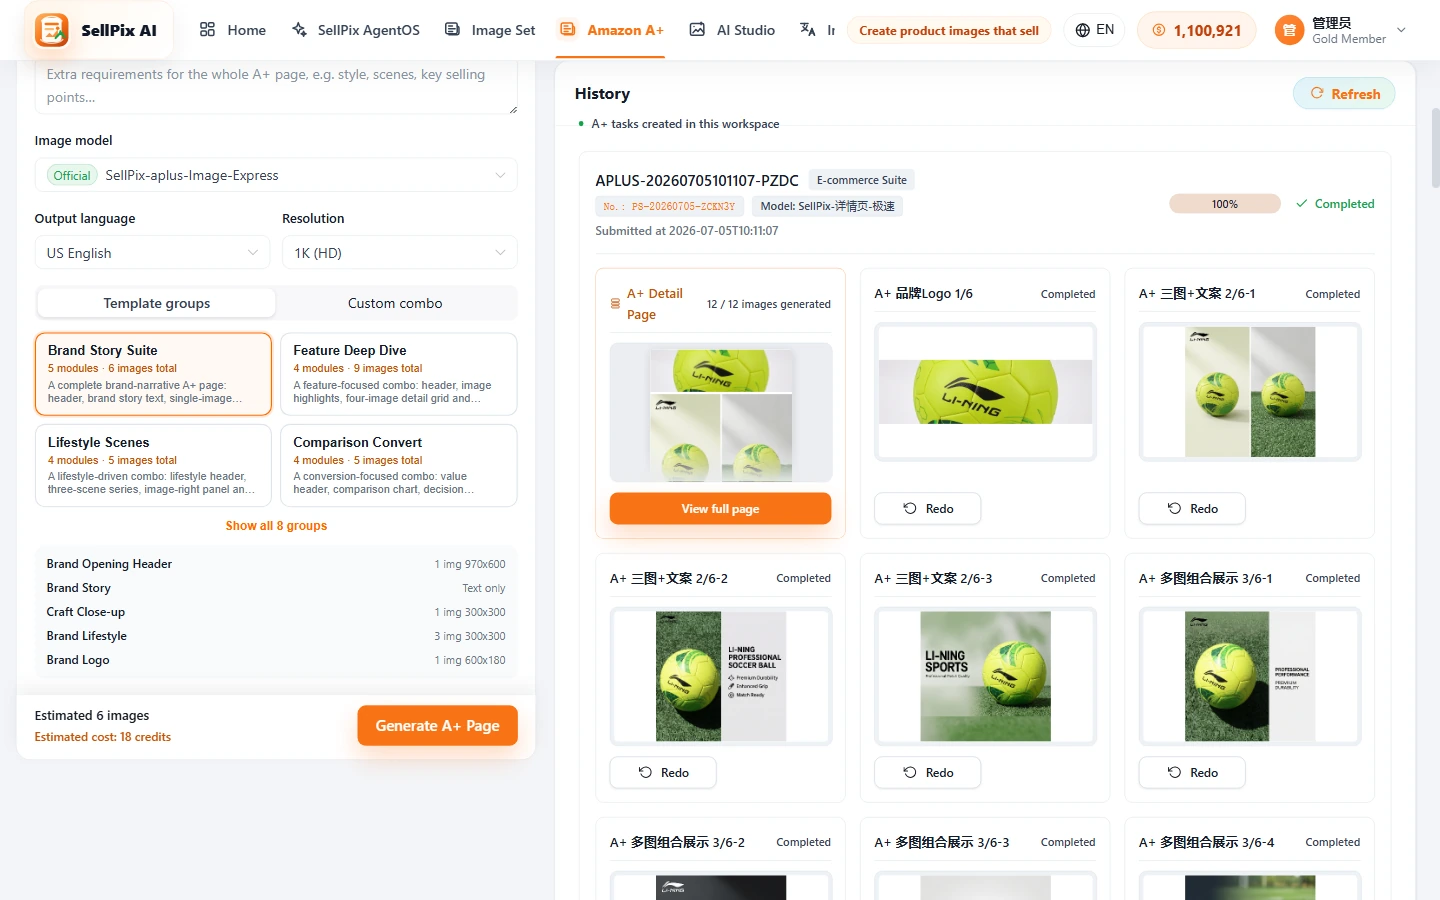
Generate the page, preview, and download
Confirm hotspots, video covers, same-brand comparison items, and eligibility before downloading the structured ZIP. Unknown eligibility may design and generate but blocks Premium export. Seller Central is not connected directly.
Models, Credits, and History
Want to know where credits went and where your images are saved? This chapter shows how to check model sources, credit usage, the Works Center, and task history, so you can reconcile cost and find results any time.
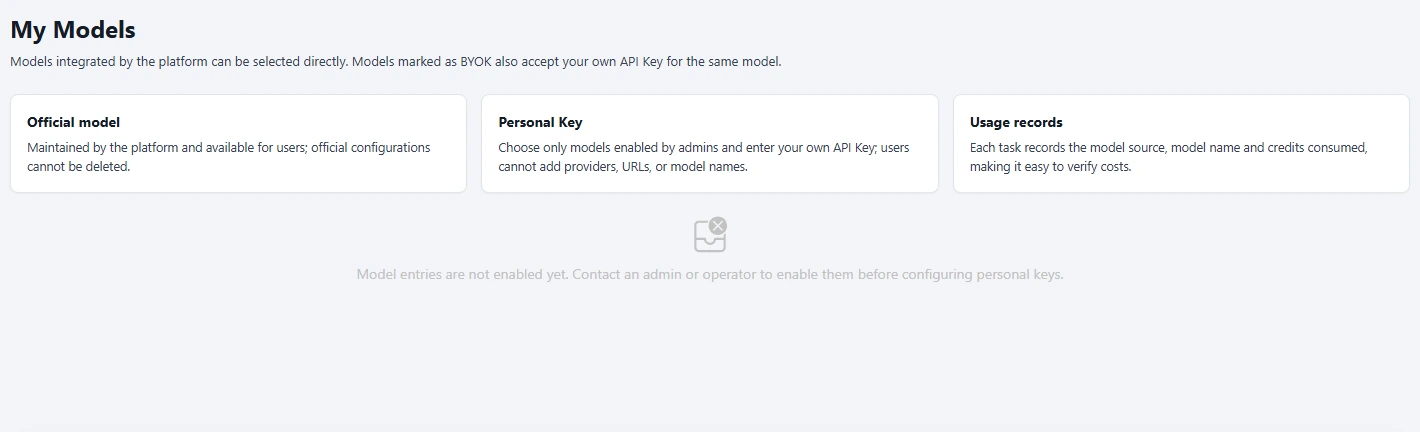
My Models: configure personal keys or use official models
Use official models by default. If you need your own provider key, add it in My Models, test the connection, and set it as default.
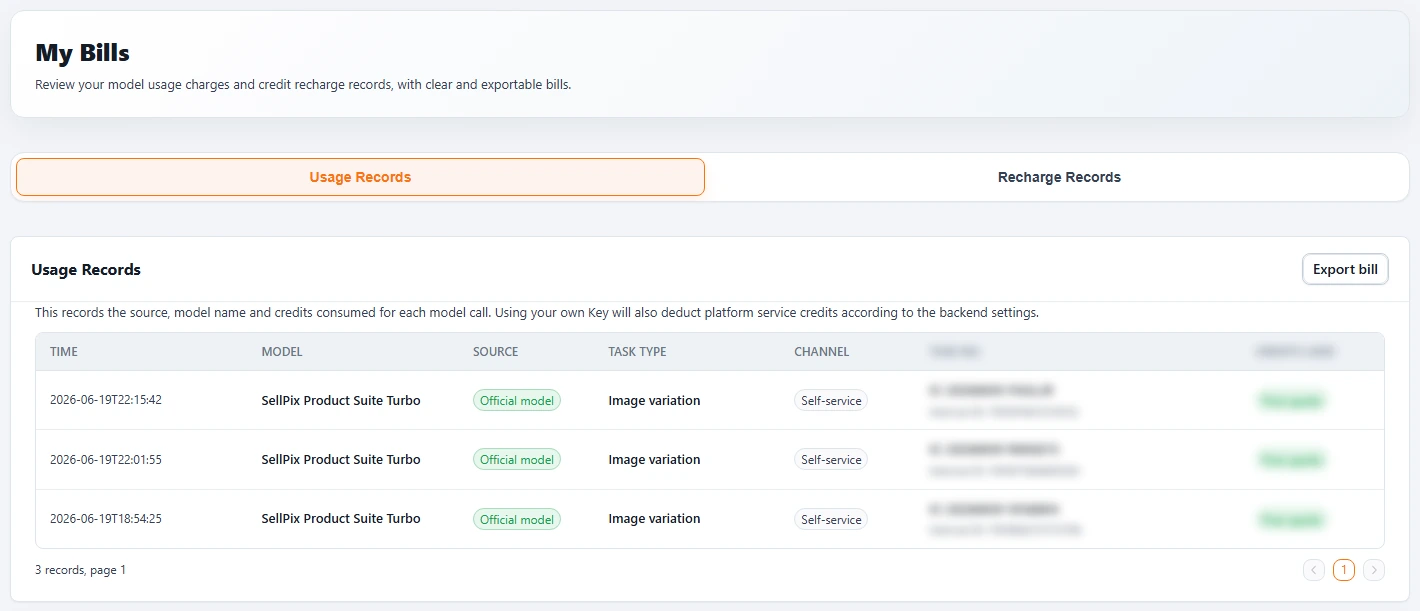
Credit ledger: reconcile task and model costs
Submissions, model calls, membership deductions, and refunds are recorded in the ledger. Teams can reconcile by task, model, and time.
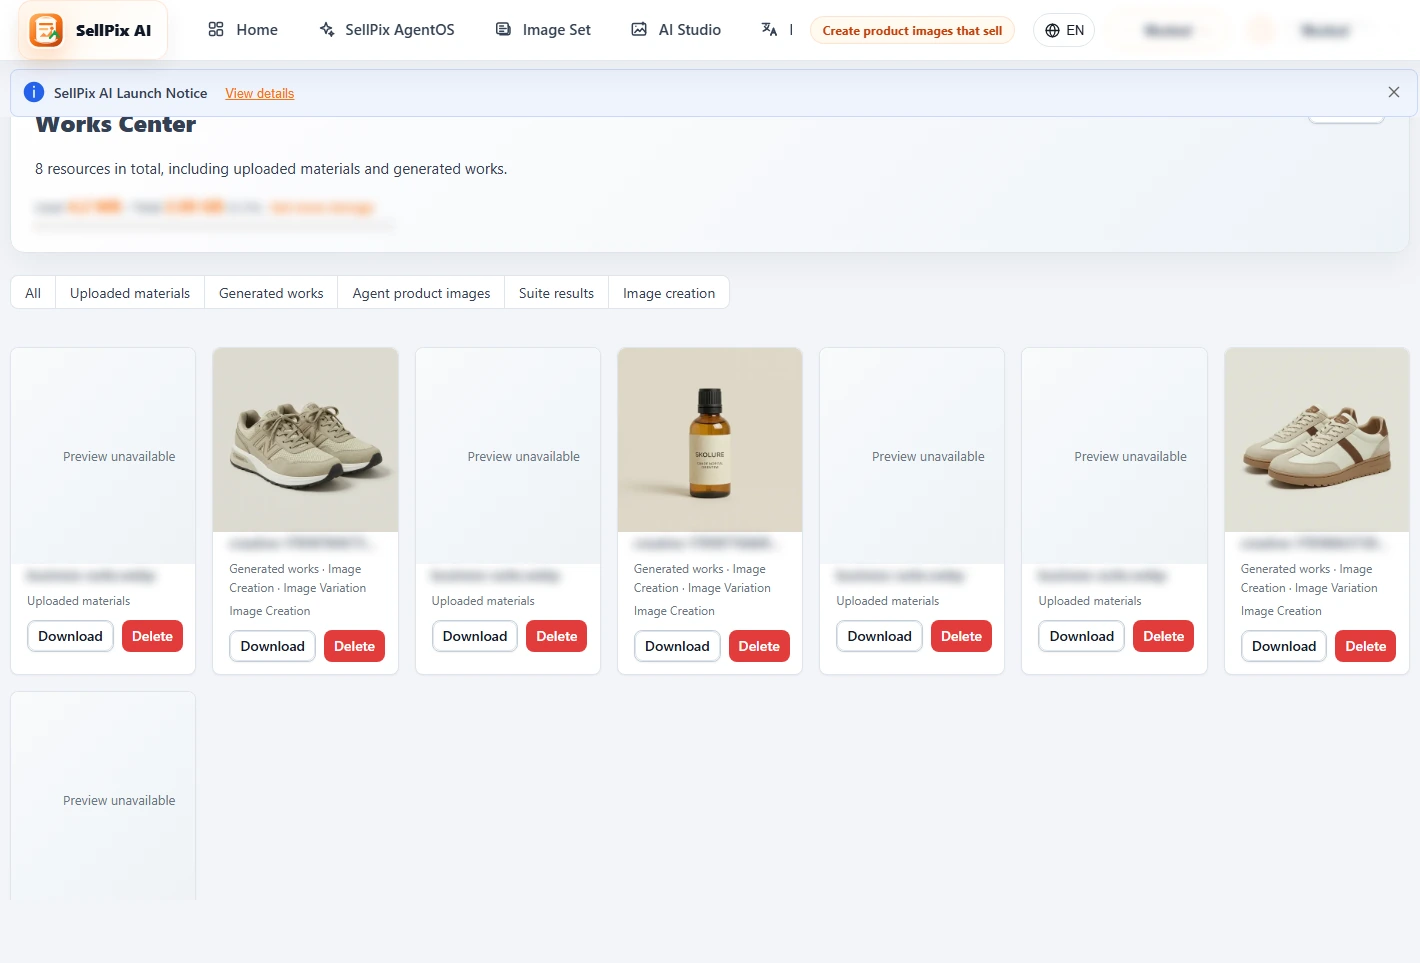
Works and history: reuse and download results
The Works Center and each tool history list keep generated results. Restore previous sessions, preview output, keep optimizing, or download again.
Beginner glossary
New to cross-border product images? Spend 30 seconds on these terms and the rest of the manual gets much easier.
The billing points used on this site. An estimate always shows before generation, and you are charged only after confirming.
The AI assistant that plans which images you need: it understands the product, recommends a plan, then generates and QA-checks.
Best for starting from a short brief or references, then iterating style, ratio, resolution, composition, and local details.
Best for Meta, Google, TikTok, and DTC campaigns; it generates placement-aware images and matching ad copy.
The full group of images a product page needs: main image, scene images, feature graphics, and more.
The branded image-and-text section lower on an Amazon product page. You can generate the whole page here.
The first image in search results and on the product page, usually on a white background.
Scene images show the product in use; feature images highlight selling points with text callouts.
Frequently Asked Questions
Answers to the points that most often confuse new users across Chinese and international workflows.
Are the manual screenshots real interface screenshots?
Yes. They are captured from local / test-account product pages, with account names, balances, order numbers, and keys masked. When the UI changes, replace the same file names.
How do the language versions of the manual differ?
Use /manual for Chinese, /en/manual for English, /es/manual for Spanish, /fr/manual for French, /de/manual for German, /id/manual for Indonesian, /vi/manual for Vietnamese, /th/manual for Thai, and /hi/manual for Hindi. All versions share the same structure; text and screenshots match the selected interface language.
What is the difference between AgentOS and Image Set?
Image Set is best when you already know which images to generate. The AgentOS Suite Agent first understands the product and target market, then recommends image types, copy, counts, and next actions for a complete Listing pack.
How do I choose between the Suite, Designer, and Marketing Ad agents?
Use the Suite Agent when you need a full Listing pack such as main, scene, and feature images. Use the AI Designer Agent when you want to iterate creative product visuals from text or references. Use the Marketing Ad Agent when you need placement-ready ad images plus campaign copy.
Why do I not see the Designer or Marketing Ad Agent tab?
Both tabs are controlled by rollout switches. When disabled, the frontend hides the tab and direct visits to /agent/designer or /agent/ad return to the Suite Agent, without affecting existing suite, AI Studio, or Image Translation workflows.
When are credits charged?
Reading the manual is free. Agent analysis has free-turn and overage rules; generation, translation, area refinement, or regeneration always shows a confirmation and credit estimate before execution.
What is the difference between A+ images and regular product images?
Regular product images appear in search and the gallery. A+ Content is the image-and-text section lower on the detail page. The tool generates images and grounded copy using each layout's evidence status and size contract.
Developer API Documentation
Call the product suite, AI product image, and image translation endpoints with AccessKeyId and SecretAccessKey. Billing matches the web app.
Your open API key is not enabled. Please contact an administrator to complete activation before viewing the docs.